Encountering the "Updating Failed. The Response Is Not a Valid JSON Response" error in WordPress can be perplexing, but there's a surprisingly simple solution that might save you from hours of troubleshooting. The secret lies in navigating to your site's Permalinks settings and re-saving them.
Here's a step-by-step guide to this quick fix:
This seemingly unconventional solution works because it refreshes the rewrite rules in WordPress, addressing any inconsistencies that may have led to the JSON response error.
If the problem persists after re-saving Permalinks, you may need to explore other troubleshooting steps mentioned in the initial article, such as deactivating plugins, switching themes, or checking for syntax errors in your code.
Remember, always back up your website before making any changes, especially if you're dealing with troubleshooting or altering settings. While the "Updating Failed. The Response Is Not a Valid JSON Response" error can be frustrating, this quick fix might be just what you need to get your WordPress site back on track.
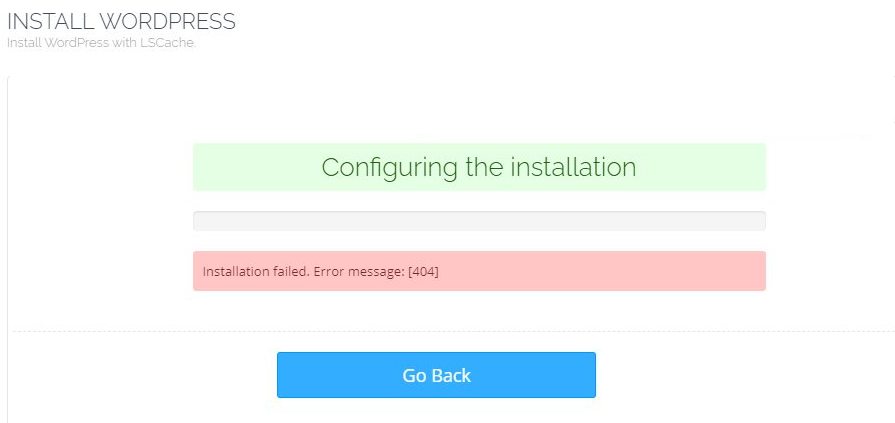
The "Installation failed. Error message: [404]" has already been reported multiple times, especially back in 2021. But don't worry too much! In this article, we will share multiple solutions to this particular issue. You will also get to know some of the causes behind this "Installation failed. Error message: [404]" issue.
This issue has already been reported multiple times in CybePanel's official forum as well as their Facebook community group. While there might be different causes behind this issue and the solution might differ based on the scenario.
About CyberPanel
CyberPanel is a relatively new but feature-rich and strong control panel for LiteSpeed or OpenLiteSpeed servers. CyberPanel provides the users with a GUI to manage the websites or resources hosted on LiteSpeed or OpenLiteSpeed servers. While there are premium packages available for CyberPanel that include LiteSpeed license and priority support, CyberPanel can also be used for free on LiteSpeed's open-source server OpenLiteSpeed which includes most of the basic functionalities and capabilities of LiteSpeed Enterprise.
A client recently reached out to me and told me that he had emptied the public_html folder to set up a fresh WordPress installation instead of the existing one. But he was trying to use the one-click installer for WordPress provided by CyberPanel (the "WordPress + LSCache" option listed below "Application Installer"), but it didn't work and the following error showed up.
First, I suspected that the client didn't manage the databases properly. So I deleted the existing databases associated with the website and created a fresh database. I also copied the database information (db name, db username, db password) required for authentication. However, when I tried once again to install WordPress, the same issue occurred.
The Solution
My first course of action was to copy the error text and do a quick Google search for that. Turned out I wasn't the only one facing the issue. I also checked the Facebook support group of CyberPanel. Many users suggested various fixes. I tried some of them, but nothing seemed to work.
To be honest, I was a bit disappointed. But then it occurred to me that when I was installing WordPress, the initial steps to install WordPress (like "downloading WordPress Core") were completed properly. So just opened a new tab on the browser, and entered the domain of the site I was working on. The site loaded the "Error establishing a database connection". So I assumed that there might be something wrong with database connection/authentication.
So I opened the file manager, navigated to the public_html folder, looked for the wp-config.php file, opened the file with CyberPanel's built-in "Edit" option, and there it was. I noticed that the database information section on the file needed some attention.
I had to modify only three lines of information in the file.
define('DB_NAME', ‘###’);
define('DB_USER', '###');
define('DB_PASSWORD', ‘###’);
Note: replace the ### with the actual database information respectively.
So I updated the information accordingly and saved the file. Now, the moment of truth - I reloaded the tab where I had the website open, and voila! Instead of the "Error establishing a database connection" message, I was redirected to the default WordPress installation page. I entered the site title, admin username, password, and email and clicked "Install WordPress". And that was it.
So in my case, the issue was incorrect database information in the wp-config.php file. So I solved the "Installation failed. Error message: [404]" issue by updating the database information (db name, db user, db password) in the wp-config.php file.